Mastering Leather Burning: A Complete Guide to Leather Pyrography
Reading Time: about
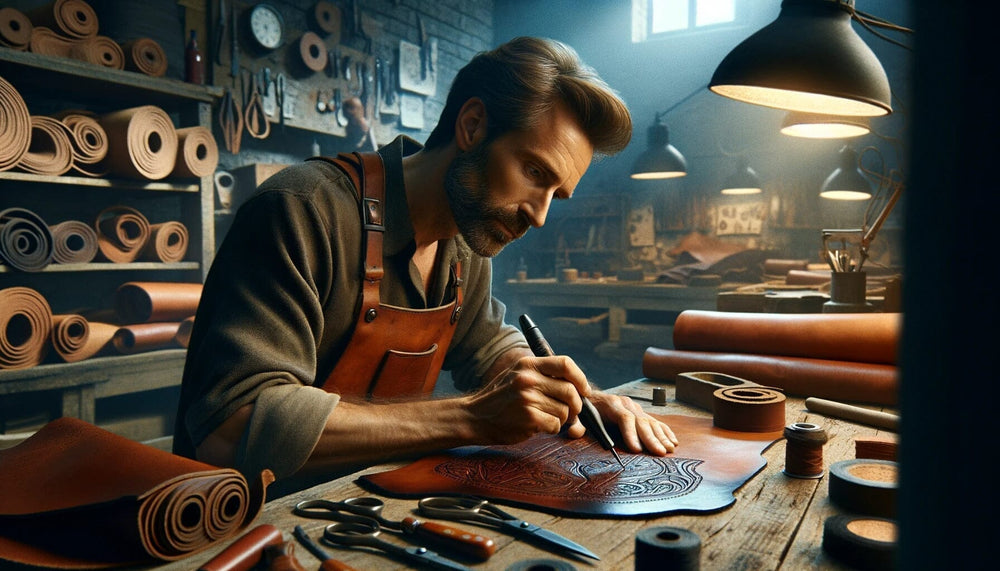
Welcome to the fascinating world of leather burning, where artistry meets tradition in a dance of creativity and skill. If you've ever marveled at intricately designed leather pieces and wondered about the secrets behind their creation, you're in the right place. Leather burning, or pyrography, is an ancient craft that transforms simple leather into stunning works of art.
Whether you're a curious beginner eager to dip your toes into this mesmerizing art form or an experienced crafter looking to refine your skills, our comprehensive guide is your gateway to mastering leather burning. From selecting the perfect piece of leather to troubleshooting common challenges, we delve deep into every aspect of this captivating craft.
So, grab your tools, ignite your passion, and let's embark on a journey of creativity and discovery in the world of leather burning!
Summary
- 1. Introduction to Leather Burning - Pyrography
- 2. Tools and Materials for Leather Burning
- 3. Preparing Leather for Burning
- 4. What Are The Leather Burning Different Techniques?
- 5. Leather Pyrography Creative Projects and Ideas
- 6. Troubleshooting Common Leather Burning Issues
- 7. How to Maintain and Care for Burned Leather?
- 8. FAQ


I. Introduction to Leather Burning - Pyrography
1. Understanding Leather Burning
a. Definition and Overview
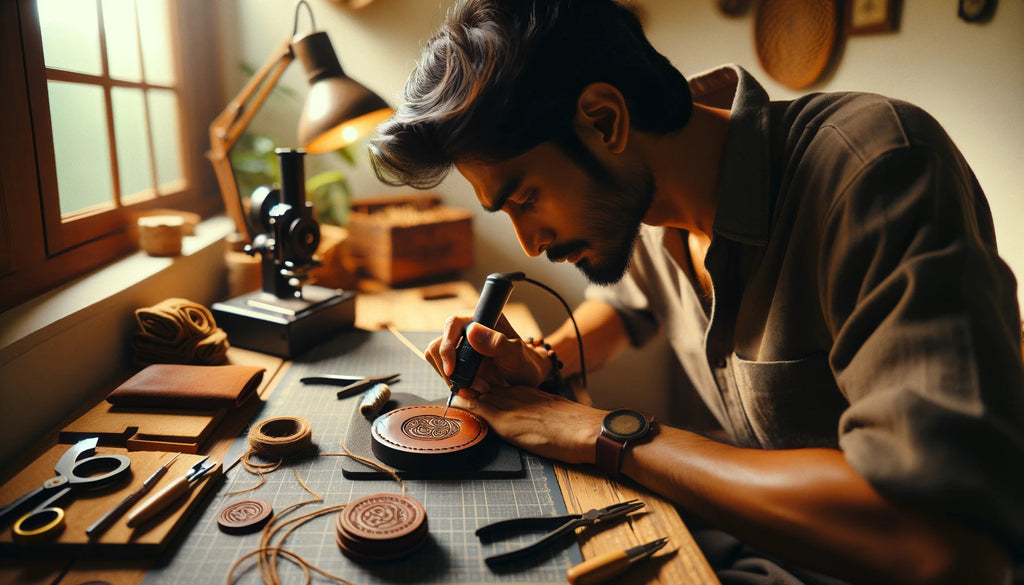
Leather burning, often referred to as pyrography, is a unique form of art that involves decorating leather with burn marks. Traditionally, this is done using a heated object like a pyrography pen. I find it fascinating how this technique allows for the creation of intricate designs and patterns on leather surfaces. The process involves varying the temperature and pressure of the tool to achieve different shades and depths, offering a wide range of artistic possibilities.
The beauty of leather burning lies in its versatility. Whether you're a hobbyist looking to personalize your leather goods or a professional artist creating intricate designs, this skill offers something for everyone. It's a blend of craftsmanship and artistry, where the natural texture of leather meets the creative expression of the artist.
b. Historical Context and Modern Applications
Leather burning is not a new art form; it has historical roots dating back to ancient times. Historically, it was used for decorating armor, horse tack, and leather book covers. Today, we see its application in modern fashion, home décor, and even in personalized accessories. Artists now use leather burning to create stunning artworks, intricate patterns on wallets, belts, and bags, and even in detailed portraiture.
The evolution of leather burning tools and techniques has expanded its applications. Modern pyrography tools offer more control and precision, allowing artists to push the boundaries of this art form. From rustic, traditional designs to contemporary, abstract art, leather burning continues to be a versatile and evolving form of expression.
2. Types of Leather Suitable for Burning
a. Characteristics of Different Leather Types
When it comes to leather burning, not all leather is created equal. The type of leather you choose can significantly impact the final outcome of your project. Generally, vegetable-tanned leather is preferred for burning due to its natural, untreated surface that responds well to heat. This type of leather has a smooth, consistent texture that makes it ideal for detailed work.
Other types of leather like chrome-tanned or oil-tanned may not yield the same results due to their treatment processes and surface characteristics. These leathers can react unpredictably to heat and might not hold the burn marks as cleanly as vegetable-tanned leather.
b. Selecting the Right Leather for Your Project
Choosing the right leather for your burning project is crucial. For beginners, I recommend starting with vegetable-tanned leather as it is more forgiving and easier to work with. Consider the thickness and grain of the leather as well. A medium thickness is often ideal as it's not too thin to burn through or too thick to require excessive heat.
When selecting leather, pay attention to its surface. A smooth, clean surface without too many imperfections or markings will give you a better canvas for your artwork. Remember, the quality of the leather can greatly influence the final look of your burned design.
Leather burning is a rich and versatile art form with a deep historical background and a wide range of modern applications. Whether you're a seasoned artist or a curious beginner, understanding the basics of leather types and their characteristics is the first step towards mastering this unique craft.

II. Tools and Materials for Leather Burning
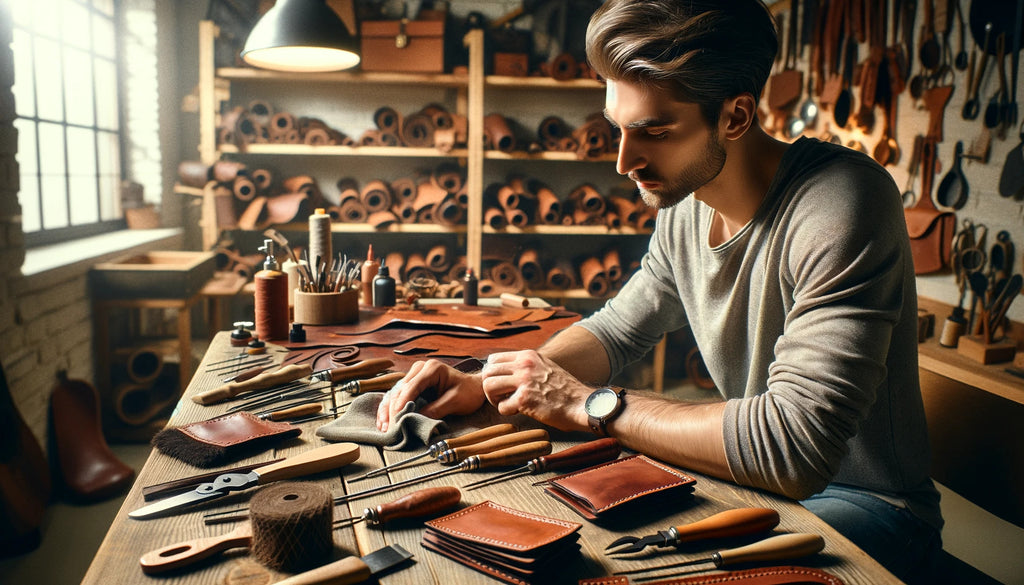
1. Essential Tools for Leather Burning
a. Pyrography Pens: Types and Uses
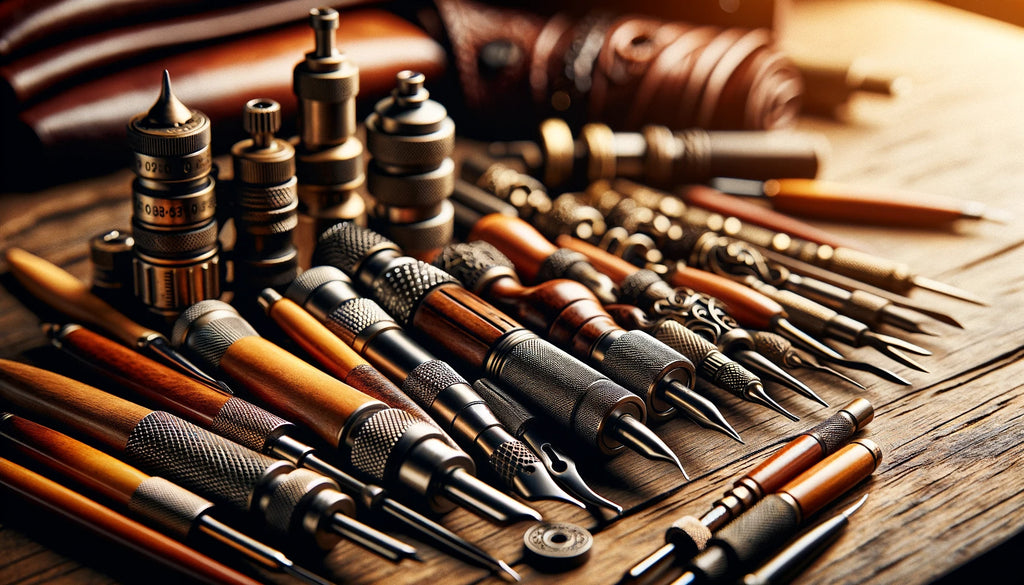
When we dive into the world of leather burning, the first tool that comes to mind is the pyrography pen. Think of it as the paintbrush for your leather canvas. There are mainly two types: solid-tip and wire-nib pens. Solid-tip pens are akin to the traditional soldering iron, offering durability and a consistent heat source, ideal for beginners. On the other hand, wire-nib pens are more flexible, allowing for a variety of strokes and effects, perfect for those looking to add intricate details to their work.
Each type of pyrography pen serves a unique purpose. For broad strokes and shading, solid-tip pens are your go-to. They maintain a constant temperature, ensuring even burns across larger areas. For finer details, like delicate lines or precise textures, wire-nib pens offer the control and versatility needed. They heat up and cool down quickly, giving you the agility to switch between different effects with ease.
It's not just about choosing the right pen, but also understanding its use. For instance, when working on a detailed portrait on leather, a wire-nib pen can deftly handle the intricate lines. Conversely, for a bold, rustic design, a solid-tip pen can provide the robust strokes needed.
b. Temperature Control and Its Importance
Temperature control is crucial in leather burning. It's the difference between a masterpiece and a mishap. Different leathers react uniquely to heat, and controlling the temperature of your pyrography pen ensures you don't burn too deep or too light. Most advanced pens come with variable temperature controls, allowing you to adjust the heat to suit the leather's thickness and your desired effect.
For instance, when working with thin, delicate leather, a lower temperature prevents burning through the material. Conversely, thicker leather may require a higher temperature to achieve a visible burn. It's a delicate balance, one that requires practice and patience to master.
2. Supplementary Materials
a. Stencils and Patterns
Stencils and patterns are the roadmaps for your leather burning journey. They guide your hand and ensure your design is proportionate and precise. You can find a plethora of designs online or create your own for a personal touch. Transferring these patterns onto leather can be done using tracing paper or a freehand technique for the more experienced artists.
Using stencils is not just about tracing a design; it's about envisioning how it will come to life on the leather. It's about understanding the interplay of lines, textures, and shades that will emerge once the burning begins.
b. Safety Equipment and Workspace Setup
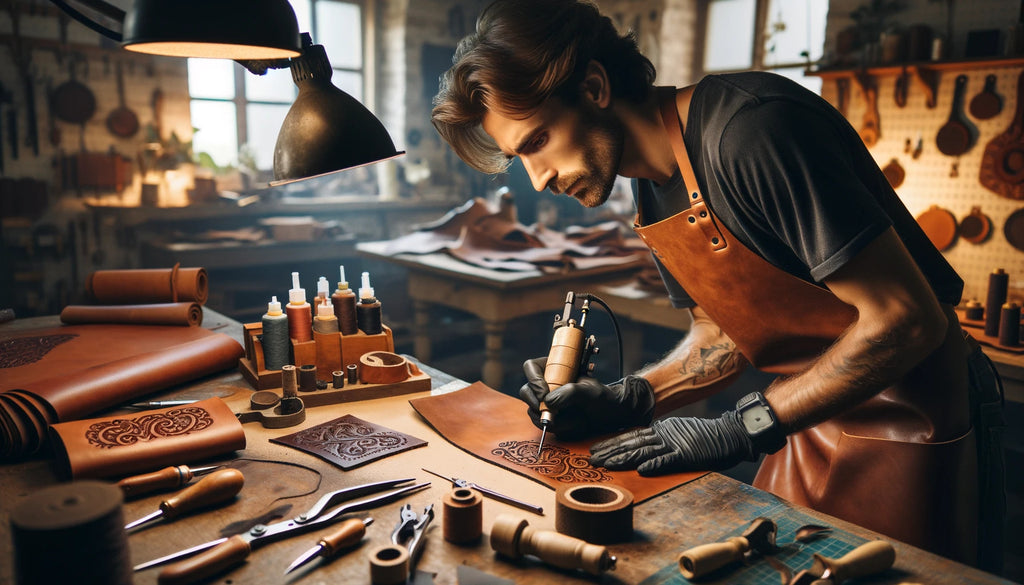
Safety should never be an afterthought in leather burning. A well-ventilated workspace is essential to avoid inhaling fumes. Protective gloves and eyewear are also crucial to prevent accidental burns and protect your eyes from the glare of the burning process.
Setting up your workspace involves more than just safety. It's about creating an environment that inspires creativity. Ensure your tools are within easy reach, and your leather is positioned comfortably. Good lighting is key – it not only protects your eyes but also ensures precision in your work.
Leather burning is an art that combines creativity with precision. The right tools and materials, coupled with a safe and inspiring workspace, set the foundation for beautiful creations. Whether you're a beginner or an experienced artist, understanding and respecting the process will lead to rewarding results.
III. Preparing Leather for Burning
1. Cleaning and Conditioning Leather
a. Best Practices for Leather Preparation
When we embark on the journey of leather burning, the first step is ensuring our canvas – the leather – is primed and ready. Preparing leather is not just a preliminary step; it's a crucial foundation for the art that follows. As a seasoned leather craftsman, I've learned that the quality of your final piece heavily depends on how well you prepare the leather.
Start with a Clean Slate: Begin by gently cleaning the leather. Use a soft, damp cloth to wipe away any surface dirt or dust. Avoid soaking the leather, as excessive moisture can alter its texture and absorbency.
Conditioning is Key: Once cleaned, conditioning the leather is vital. Conditioning helps in maintaining the leather's suppleness, ensuring it doesn't become too brittle during the burning process. Use a quality leather conditioner, applying a thin, even layer. Allow it to absorb and dry completely before proceeding.
Testing the Waters: Always test your cleaning and conditioning method on a small, inconspicuous area first. This step ensures that the products you're using are compatible with your specific leather type.
b. Common Mistakes to Avoid
In my experience, a few common pitfalls can hinder the leather preparation process:
Over-Conditioning: While conditioning is essential, too much can oversaturate the leather, making it unsuitable for burning. Moderation is key.
Using Harsh Chemicals: Steer clear of harsh cleaning agents. They can strip natural oils from the leather, leading to damage and uneven burning.
Ignoring the Leather Type: Different types of leather react differently to cleaning and conditioning. Always consider the specific needs of the leather you're working with.

2. Transferring Designs onto Leather
a. Techniques for Accurate Transfer
Transferring your design onto the leather is a step where precision is paramount. As an artist, I've found that accuracy in this phase sets the stage for the entire burning process.
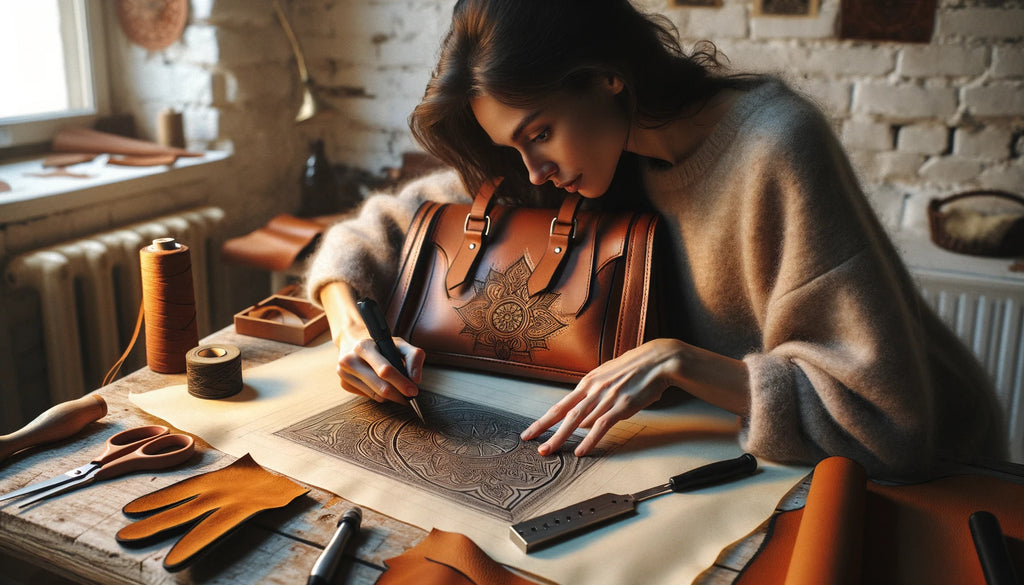
Use Tracing Methods: Tracing paper is your best friend here. First, sketch your design on tracing paper. Then, using a stylus or a dull pencil, gently trace over the design to transfer it onto the leather surface. Ensure the leather is flat and stable to avoid any shifting during transfer.
Carbon Paper Method: For darker leathers, carbon paper can be more effective. Place the carbon paper between your design and the leather, and trace over. This method ensures a clear, visible outline on even the darkest of leathers.
b. Tips for Complex Patterns
Complex patterns require a bit more finesse:
Segmentation is Crucial: Break down complex designs into smaller segments. This approach makes transferring more manageable and less overwhelming.
Maintain Proportions: Use grid lines on both your design and the leather surface to maintain proportion and symmetry, especially for intricate patterns.
Patience Pays Off: Take your time with complex designs. Rushing can lead to errors that are hard to correct later in the burning process.
Preparing leather for burning is a blend of art and technique. By following these best practices and avoiding common mistakes, you can set the stage for a successful leather burning project. Remember, the beauty of your final piece lies in the care and attention you give at every step of the process.


IV. What Are The Leather Burning Different Techniques?
1. Basic Leather Burning Techniques
a. Outlining and Shading
When I first started exploring the art of leather burning, I quickly realized that mastering the basics of outlining and shading is crucial. These foundational techniques form the backbone of any leather pyrography project, setting the stage for more intricate work.
Outlining is your starting point. It involves tracing your design onto the leather surface. I recommend using a fine-tip pyrography pen for precision. The key here is to maintain a steady hand and consistent pressure, ensuring that each line is crisp and clear. Remember, leather is a forgiving medium, but it's also unforgiving in the sense that every mark is permanent. So, take your time and don't rush the process.
Moving on to shading, this technique adds depth and dimension to your work. It's like bringing a flat sketch to life. The trick is to vary the temperature of your tool to create different shades. Lower temperatures result in lighter shades, while higher temperatures produce darker tones. It's a dance of light and shadow, and with practice, you'll learn to choreograph this dance beautifully. Experiment with different stroke patterns – like cross-hatching or stippling – to add texture and richness to your design.
b. Texturing and Detailing
Texturing in leather burning is akin to adding spices to a dish; it enhances the flavor. By incorporating various textures, you transform a simple design into a tactile experience. Techniques like stippling, cross-hatching, or even simple line work can add a unique touch to your project.
Detailing, on the other hand, is about finesse. It's where your design comes to life. Pay attention to the small elements – the curve of a leaf, the intricacy of a pattern, the subtle gradations in a landscape. These details may seem minor, but they make a significant impact on the overall piece.
2. Advanced Leather Burning Techniques
a. 3D Effects and Realistic Imagery
As you progress in your leather burning journey, you'll want to explore more advanced techniques like creating 3D effects and realistic imagery. This is where your art truly starts to pop off the page.
Creating 3D effects on leather requires an understanding of light and shadow. It's about visualizing your design in layers and understanding how these layers interact with each other. Use varying shades and textures to build up areas that you want to stand out. It's a meticulous process, but the results are worth it – your designs will have a lifelike depth that's visually stunning.
Realistic imagery, on the other hand, is all about detail and accuracy. It's about capturing the essence of your subject, whether it's a portrait, a landscape, or a still life. This requires a keen eye and a steady hand. Pay attention to the nuances of your subject – the way light falls on a face, the subtle variations in a landscape, the intricate patterns in nature. These details are crucial in creating a realistic and captivating piece.
b. Mixing Techniques for Unique Effects
One of the joys of leather burning is the freedom to mix and match techniques to create something truly unique. Don't be afraid to experiment. Combine outlining with texturing, shading with detailing, or even try incorporating color with special leather dyes.
The beauty of leather burning lies in its versatility. Each piece of leather reacts differently, and each tool can yield different results. Embrace this unpredictability and use it to your advantage. With time and practice, you'll develop a style that's distinctly yours.
Whether you're just starting out or looking to advance your skills, remember that leather burning is an art form that requires patience, practice, and a willingness to learn. Keep experimenting, keep creating, and most importantly, enjoy the process.
V. Leather Pyrography Creative Projects and Ideas
1. Beginner-Friendly Leather Burning Projects
a. Simple Patterns and Designs
When I first ventured into the world of leather crafting, I discovered the joy of creating simple yet elegant designs on leather. For beginners, the key is to start with basic patterns that are not only easy to execute but also immensely satisfying. Think of geometric shapes, floral motifs, or even basic landscapes. These designs require minimal tools – a basic pyrography pen and a piece of smooth leather are enough to get started.
The process begins with sketching your design lightly on the leather surface. This can be done freehand or by using a stencil for more precision. The beauty of leather pyrography lies in its forgiving nature; even if your lines aren't perfect, they add a unique character to your work. As you guide the heated tip of the pyrography pen over the leather, you'll see your design come to life, with rich, dark lines contrasting beautifully against the leather's natural hue.
Remember, the key to mastering leather burning is patience and practice. Start with simple lines and curves, gradually moving to more intricate patterns as you gain confidence. And most importantly, enjoy the process of creating something beautiful with your own hands.
b. Practical Items: Coasters, Wallets, etc.
Leather burning isn't just about creating art; it's also about crafting functional items that blend utility with aesthetics. Coasters, wallets, keychains, and even bookmarks can be transformed into personalized items with a touch of leather burning.
For instance, creating a set of leather coasters can be both a fun project and a great introduction to leather burning. Begin by cutting your leather into circles or squares, then burn simple designs onto them. These could be anything from initials, a favorite quote, or small icons. Not only do these make for great conversation pieces in your home, but they also serve as thoughtful, handmade gifts.
Moving on to wallets and keychains, the approach is similar. Start with a basic leather shape and add your personal touch with burned designs. The key here is to keep the design elegant and not overcrowd the leather, as these items are handled frequently and simplicity often equates to durability in such crafts.
2. Advanced Leather Burning Projects
a. Artistic Portraits on Leather
As you progress in your leather burning journey, you might find yourself drawn to more challenging projects like creating artistic portraits on leather. This is where your skills truly shine, as you capture the essence of a subject on a timeless medium.
Portraits on leather require a keen eye for detail and a steady hand. The process involves transferring a photograph onto the leather, either by tracing or using a stencil. The challenge lies in rendering the subtle nuances of the portrait – the play of light and shadow, the texture of the hair, the depth in the eyes – all with varying temperatures and strokes of your pyrography tool.
The result, however, is profoundly rewarding. A leather-burned portrait is not just a piece of art; it's a personal heirloom that carries a sense of intimacy and timelessness. It's a testament to your skill and a reflection of the bond between the artist and the subject.
b. Large-Scale Leather Artworks
For those who are truly passionate and have honed their skills, undertaking large-scale leather artworks can be the pinnacle of leather burning. Imagine creating a full-wall mural or a large tapestry-like piece, all in burned leather. These projects are ambitious, requiring not just skill but also a vision.
Large-scale works demand a comprehensive understanding of leather's properties – how it reacts to different temperatures, how it ages, and how it behaves under prolonged exposure to heat. Planning is crucial; you need to consider the composition, the interplay of light and dark areas, and the overall impact of the piece.
Such projects might span weeks or even months, but the satisfaction of creating a masterpiece that can adorn a wall and captivate viewers is unparalleled. It's a true blend of art and craftsmanship, a testament to the versatility and beauty of leather as a medium.


VI. Troubleshooting Common Leather Burning Issues
1. Addressing Uneven Burns and Mistakes
a. Techniques for Correction
When working with leather burning, encountering uneven burns or mistakes is a common challenge. However, these issues are often correctable with the right approach. Firstly, if you notice an uneven burn, assess the depth and intensity of the burn. For superficial inconsistencies, gentle sanding can help even out the area. Use fine-grit sandpaper and work in a circular motion, but be cautious not to over-sand as this can thin the leather.
If the burn is too deep, consider incorporating the mistake into your design. This could mean transforming an accidental burn into a deliberate part of the artwork. For instance, a deeper burn could become part of a shadow in a larger image, turning an error into a creative opportunity.
Another technique involves using leather dyes or stains. If the burn has discolored the leather, applying a dye can help blend the area back into the surrounding leather. Choose a dye that closely matches the original color of your leather, and apply it carefully to avoid over-coloring.
Remember, patience and a steady hand are key. Rushing the correction process can lead to further mistakes. Take your time to evaluate the best course of action for each specific issue.
b. Preventive Measures for Future Projects
Prevention is always better than correction. To avoid uneven burns in future projects, ensure your pyrography tool is at the correct temperature before beginning. Different leathers react differently to heat, so experimenting on scrap pieces can help you find the ideal setting.
Maintaining a consistent pressure is also crucial. Uneven pressure can lead to variable burn depths. Practice maintaining a steady hand and even pressure on scrap leather before moving to your main project.
Regularly cleaning your burning tips can prevent residue build-up, which can cause irregular burns. A clean tip ensures a consistent burn and better control over your designs.
Lastly, always work in a well-lit area. Good lighting helps you see the leather's surface clearly, allowing for more precise work and reducing the likelihood of mistakes.
2. Dealing with Difficult Leather Types
a. Adjusting Techniques for Various Leathers
Different types of leather have unique properties that can affect the burning process. For example, softer leathers like lambskin are more susceptible to deeper burns due to their thinner and more delicate nature. On the other hand, thicker leathers like cowhide require higher temperatures and more pressure to achieve the same effect.
Understanding the characteristics of the leather you are working with is crucial. For softer leathers, use lower temperatures and lighter strokes. This approach minimizes the risk of burning through the leather or creating unintended deep marks.
Conversely, when working with tougher leathers, you may need to increase the temperature of your tool. However, do this gradually to avoid overheating, which can cause the leather to warp or become brittle.
Always test your technique on a scrap piece of the same leather. This practice helps you get a feel for how the material reacts to the heat and allows you to adjust your technique accordingly.
b. Tips for Consistent Results
Achieving consistent results in leather burning, regardless of the leather type, requires practice and attention to detail. Here are some tips to help you maintain consistency:
- Understand Your Material: Spend time getting to know the leather's properties. This understanding will guide your technique and tool settings.
- Maintain Your Tools: Keep your burning tips clean and in good condition. A well-maintained tool is more predictable and easier to control.
- Control Your Environment: Work in a stable environment where temperature and humidity are consistent. Fluctuations in these conditions can affect both the leather and the burning process.
- Keep a Steady Pace: Work at a consistent speed. Rushing can lead to mistakes, while going too slow can cause overburning.
- Document Your Process: Keep notes on the settings and techniques that work for different types of leather. This reference can be invaluable for future projects.
By applying these techniques and preventive measures, you can significantly reduce the occurrence of common issues in leather burning and enhance the quality of your craftsmanship. Remember, each piece of leather is unique, and adapting your approach to its specific characteristics will lead to the best results.
VII. How to Maintain and Care for Burned Leather?
1. Post-Burning Leather Treatment
a. Sealing and Protecting Burned Leather
When we talk about leather burning, it's not just the artistic process that's important – the aftercare of your leather masterpiece is equally crucial. After you've completed your leather burning project, it's essential to seal and protect the leather to ensure its longevity and beauty.
Why Sealing is Important: Sealing the leather helps to lock in the design and protect the surface from moisture, dirt, and wear. It acts as a barrier, keeping the intricate details of your work intact over time.
Choosing the Right Sealant: There are various types of leather sealants available, such as acrylic-based sealers, wax-based conditioners, and natural oil treatments. Each has its own set of benefits. Acrylic-based sealers provide a durable, water-resistant finish, while wax-based conditioners offer a softer, more natural look. Natural oil treatments, like neatsfoot oil or mink oil, nourish the leather, enhancing its flexibility and depth of color.
Application Tips: Apply the sealant evenly with a soft cloth, ensuring that you cover the entire surface. For intricate designs, use a smaller brush to get into the nooks and crannies. Allow the sealant to dry completely before handling the leather.
b. Long-Term Care and Preservation
To maintain the elegance and integrity of your burned leather items, long-term care is key. This involves regular cleaning and conditioning to keep the leather supple and prevent cracking or fading.
Cleaning Your Leather: Use a soft, damp cloth to gently wipe the surface. Avoid harsh chemicals or abrasive materials that can damage the leather or the burned design.
Conditioning Regularly: Leather conditioners replenish the natural oils in the leather, keeping it soft and preventing it from drying out. Apply a quality leather conditioner every few months, or more frequently if the item is used regularly.
Avoiding Direct Sunlight: Prolonged exposure to sunlight can fade the colors and weaken the leather. Store your leather items in a cool, dry place away from direct sunlight.
Handling with Care: Remember that burned leather is not just a functional item but also a piece of art. Handle it with care to avoid scratches or damage to the design.
2. Repairing and Restoring Burned Leather
a. Common Issues and Solutions
Even with the best care, leather items may eventually show signs of wear or damage. Here are some common issues and how to address them:
Scratches and Scuffs: Minor scratches can often be buffed out using a soft cloth. For deeper scratches, leather repair kits are available that can help to blend the scratch into the surrounding area.
Fading or Discoloration: If the color of your burned leather has faded, specially formulated leather dyes can be used to touch up the affected areas. Always test the dye on a small, inconspicuous area first.
Cracking: To prevent cracking, keep the leather well-conditioned. If cracking does occur, a leather repair kit can be used to fill in the cracks and restore the surface.
b. Professional Restoration Techniques
For significant damage or for restoring valuable or sentimental pieces, professional restoration may be the best option. Leather restoration experts have the tools and expertise to repair damage, restore color, and preserve the integrity of the leather.
Seeking Professional Help: Look for a professional with experience in restoring burned leather. They will have a deeper understanding of the techniques and materials needed to restore your item without compromising the burned design.
Restoration Process: The restoration process may involve cleaning, repairing, re-dyeing, and re-sealing the leather. The goal is to restore the item to its original condition, or as close to it as possible.
Preserving the Artwork: A key consideration in professional restoration is preserving the original burned design. Experienced restorers will use techniques that enhance the design while repairing the leather.
In conclusion, the care and maintenance of burned leather require a thoughtful approach, balancing the need to protect and preserve the leather with the desire to keep the artistic design intact. Whether you're handling minor upkeep at home or seeking professional restoration, the right techniques and products can ensure your burned leather items remain beautiful and durable for years to come.
Conclusion
In the intricate art of leather burning, the journey from a novice to a skilled artisan is filled with learning, creativity, and a deep appreciation for the craft. As we've explored the various facets of leather burning, from selecting the right materials to mastering advanced techniques, it's clear that this art form offers a unique blend of tradition and innovation. Whether you're correcting mistakes, experimenting with different leather types, or embarking on ambitious projects, the key lies in patience, practice, and a passion for the craft.
Leather burning is not just about creating designs; it's about expressing your artistic vision through a medium that is both challenging and rewarding. As you continue on your leather burning journey, remember that each piece you create is not just a work of art, but a testament to your dedication and skill. Embrace the challenges, celebrate the successes, and always keep the flame of creativity burning.


FAQ
What is the best type of leather for burning?
Vegetable-tanned leather is generally considered the best for burning due to its natural, untreated surface that responds well to heat.
How do I transfer complex designs onto leather for burning?
Use transfer paper or a stencil. First, trace your design onto the transfer paper, then place it on the leather and retrace to transfer the design.
Can leather burning be undone or corrected?
While you can't erase burns, you can sometimes incorporate mistakes into your design or use leather dyes to camouflage them.
What safety precautions should I take while leather burning?
Work in a well-ventilated area, wear a protective mask to avoid inhaling fumes, and keep a fire extinguisher nearby.
How long does it take to master leather burning techniques?
Mastery varies by individual, but with regular practice, you can achieve proficiency in basic techniques within a few months.
Can leather burning weaken the leather over time?
Excessive burning can weaken leather, so it's important to use the correct temperature and avoid over-burning.
Are there any eco-friendly practices in leather burning?
Use vegetable-tanned leather, which is more environmentally friendly, and avoid burning synthetic leathers that release harmful fumes.
What are some common mistakes beginners make in leather burning?
Beginners often use too much pressure, burn at too high a temperature, or don't practice enough on scrap pieces first.
How can I add color to my leather burning projects?
After burning, you can add color with leather dyes, acrylic paints, or colored pencils specifically made for leather.
Is leather burning an expensive hobby to start?
The initial cost can be moderate, mainly for purchasing a quality pyrography tool and leather. However, once you have the basic equipment, the ongoing costs are relatively low.
📫 Related Blog Posts:
📌 How to Rehydrate Leather? Leather Rehydration Made Easy
📌 How to Darken Leather? From Faded to Fabulous
📌 What is Eco Leather? The Future of Sustainable Fashion
📌 How to Restore Leather? A Complete Guide to Revive Your Leather
📌 Mastering Leather Repair: A Complete Guide for Longevity
📌 How to Clean Faux Leather? Proven Cleaning & Care Strategies

Leave a comment