How to Paint Leather? Master the Art of Leather Painting
Reading Time: about
Whether you're customizing sneakers, reviving a faded handbag, or creating wearable art — painting leather opens up endless creative possibilities. But regular acrylic paint will crack and peel within weeks. Here's what actually works.
To paint leather, use acrylic leather paint (not regular acrylic) applied in thin layers over a deglazed surface. Standard acrylic paint lacks the flexibility leather requires and will crack with movement. Brands like Angelus and Jacquard make paints specifically formulated for leather's flex and stretch.
We walk through the full process from prep to sealant, including the technique that gives the smoothest professional-looking finish.
I. Why Paint Leather?
As someone who has spent a considerable amount of time working with and appreciating leather, I've often been asked, "Why would you paint leather?" It's a valid question. After all, leather in its natural state has a beauty and charm that's hard to match. But, as with many things in life, sometimes a little enhancement can bring out the best in an object. Let's dive deeper into the reasons behind painting leather.
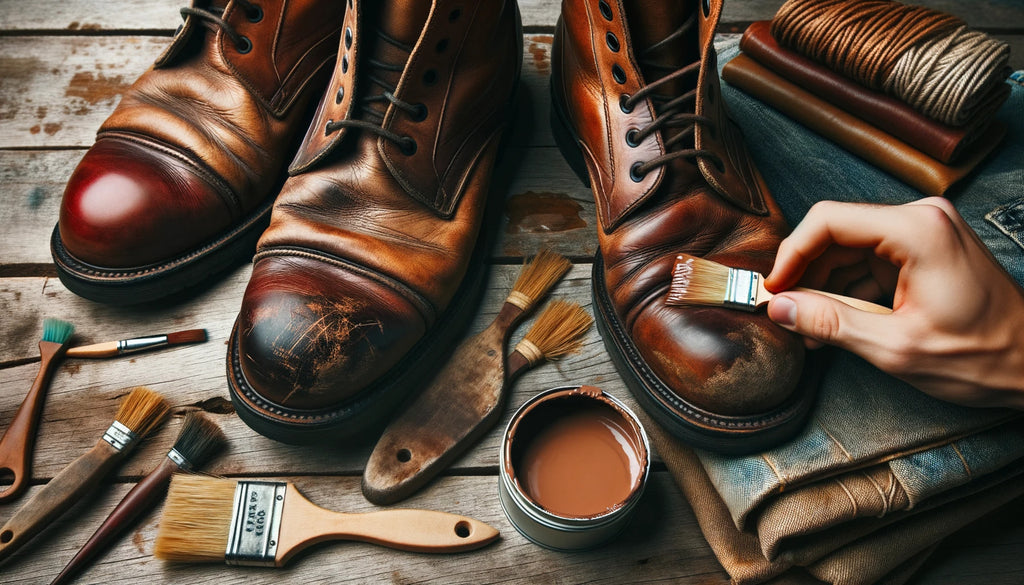
1. Enhancing the Appearance of Worn-Out Leather Items
We all have that one leather item that holds a special place in our hearts. Maybe it's a pair of boots that have walked miles with us or a leather journal filled with memories. Over time, these items, despite their durability, start to show signs of wear. Fading, scratches, and discoloration can take away from their original beauty.
But here's a little secret I've learned: painting can be the fountain of youth for these items. A fresh coat of paint can mask imperfections, restore the original color, or even give it a completely new hue. It's like watching your favorite black-and-white movie in color for the first time. The essence remains, but the experience is enriched.
2. Personalizing Leather Goods
Leather items, be it a wallet, a jacket, or furniture, often come in standard colors and designs. But what if you want something that screams 'you'? Painting offers a canvas for personal expression. Whether you're adding a monogram, a quirky design, or just a splash of your favorite color, painting allows you to infuse your personality into your leather goods.
I recall a time when I decided to paint a mural of a sunset on my leather backpack. Everywhere I went, it sparked conversations. It wasn't just a backpack anymore; it was a piece of art, a piece of me.
3. Protective Benefits of Paint
Beyond the realms of aesthetics and personalization, paint serves a functional purpose. Think of it as a shield, a guardian if you will, for your leather items. A good quality leather paint can protect against various elements like water, UV rays, and even minor scratches. It's akin to applying sunscreen before heading out on a sunny day. The paint not only enhances the leather's appearance but also ensures it remains in prime condition for longer.
In my journey with leather, I've come to realize that painting isn't just a cosmetic choice. It's a blend of art and science, aesthetics and protection. It's about giving leather items a new lease on life, making them uniquely yours, and ensuring they stand the test of time. So, the next time you find yourself contemplating whether to paint leather, remember the myriad benefits it offers. And who knows? You might just discover a hidden artist within you.
Which Leather Types Can You Paint?
Leather, much like the stories and experiences we each carry, comes in various forms and textures. Each type has its unique characteristics, and understanding these nuances is crucial, especially when you're considering painting them. Let me guide you through this intricate world of leather.
1. Different Types of Leather and Their Characteristics
-
Full-Grain Leather: Often hailed as the highest quality leather, full-grain retains the entire grain layer, giving it a natural texture. It's known for its durability and ability to develop a rich patina over time. If you've ever held a piece of leather and marveled at its natural imperfections and patterns, chances are, it was full-grain.
-
Top-Grain Leather: A step below full-grain, top-grain leather has its surface slightly sanded to remove imperfections. This gives it a more uniform appearance. While it may not age as gracefully as full-grain, it's smoother and more resistant to stains.
-
Split Leather (or Suede): Ever felt a piece of leather that's velvety to the touch? That's suede for you. It's derived from the innermost layer of the hide, making it softer but less durable. Its porous nature gives it a distinct texture, but it's also more susceptible to stains and moisture.
-
Bonded Leather: Think of this as the "recycled" variant in the leather world. Bonded leather is made from leftover scraps and fibers, bound together with adhesive and pressed into sheets. It's the most affordable type but lacks the strength and longevity of its counterparts.
-
Patent Leather: If you've ever seen leather with a high-gloss, shiny finish, that's patent leather. It's achieved by applying a lacquer or varnish after the dyeing process. Elegant and sleek, it's often used for formal shoes and accessories.
-
Nubuck: Similar to suede in its softness, nubuck is derived from the outer side of the hide, making it a tad more durable than suede. It has a slight nap and is known for its velvety touch.
Now, with this newfound knowledge, you might wonder, "Which of these leathers can I paint?"
2. Which Leathers Are Best Suited for Painting?
While the idea of painting any leather piece might be tempting, it's essential to choose the right canvas for the best results.
-
Full-Grain and Top-Grain Leather: These are your best bets. Their smooth surface allows for even paint application, and the paint adheres well, ensuring longevity.
-
Suede and Nubuck: Tread with caution here. Due to their porous nature, they can absorb paint unevenly. If you're going for a distressed or artistic look, this might work. Otherwise, it's best to avoid painting these types.
-
Bonded Leather: Given its composite nature, bonded leather can be tricky. It might not hold paint as well as full-grain or top-grain. However, with proper preparation and sealing, it's possible to achieve decent results.
-
Patent Leather: Painting over the glossy finish of patent leather can be challenging. If you're set on changing its color, consider using dyes instead of paint.
In my journey with leather, I've learned that understanding its type is half the battle won. It's like knowing a friend's preferences before buying them a gift. Once you're familiar with the leather's characteristics, you can make informed decisions, ensuring that your painting endeavor is a success.
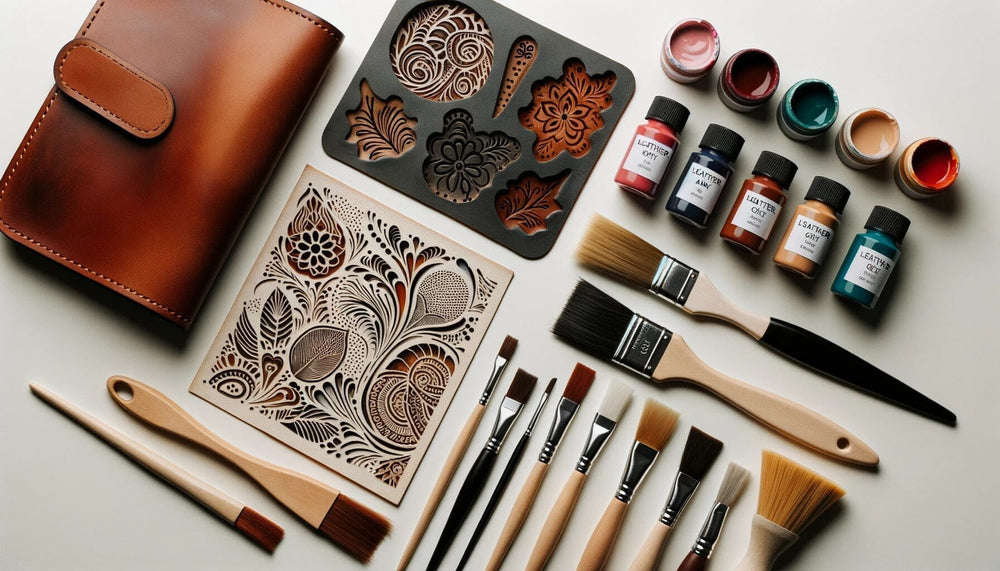
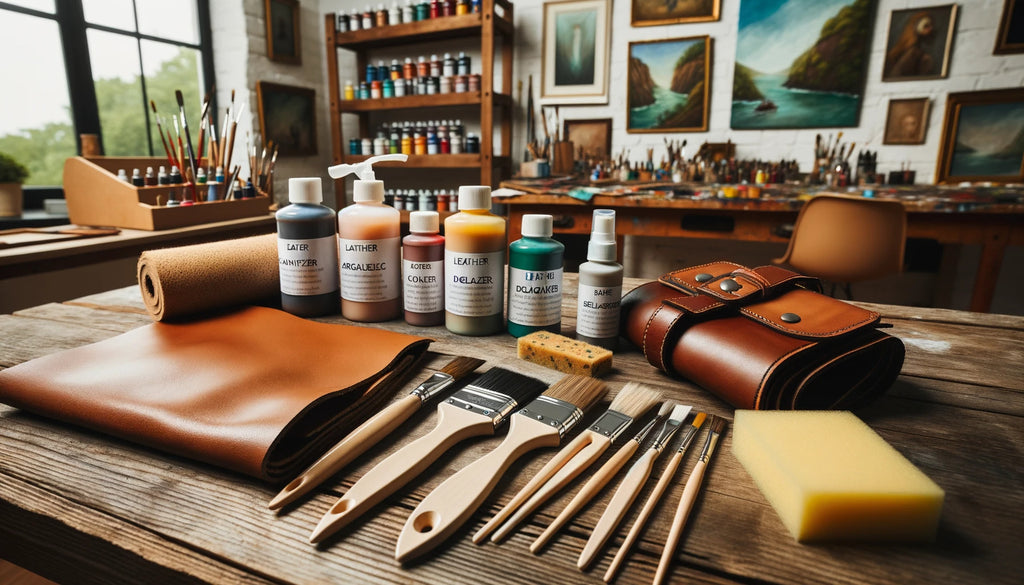
What Materials Do You Need to Paint Leather?
Embarking on the journey of painting leather can be both exciting and daunting. But, as with any project, having the right tools and materials can make all the difference. I remember the first time I decided to paint a leather belt that had seen better days. Without the proper materials, let's just say the result was less than stellar. So, to save you from any potential mishaps, let's dive into the essentials you'll need.
1. Leather Conditioner or Oil
Before you even think about applying paint, prepping the leather is crucial. Leather conditioner or oil serves as a moisturizer for your leather items. Just as we wouldn't apply makeup to dry skin without moisturizing first, leather needs its own kind of TLC. Conditioning ensures the leather remains supple, preventing cracks and ensuring the paint adheres smoothly. I've often used a simple leather conditioner, and the difference it makes is night and day. The leather becomes more receptive, almost like it's eagerly awaiting its makeover.
2. Paintbrushes: Choosing the Right Type
The paintbrush is your magic wand in this process. But not all brushes are created equal. For leather, you'll want brushes that can smoothly apply paint without leaving streaks. While some might be tempted to grab any old brush, I'd recommend opting for synthetic brushes. They don't absorb too much paint and give a smooth finish. Remember, the brush can make or break your project. Once, I used a subpar brush, and let's just say the result was... abstract, to put it kindly.
3. Paint Finishers: Their Role and Importance
After painting, a finisher acts like a protective shield. It seals in the paint, adds durability, and can provide either a glossy or matte finish, depending on your preference. Think of it as the topcoat you'd apply after painting your nails. It's that final touch that elevates the look and ensures longevity. Without a finisher, the paint might chip or fade quickly, and all your hard work could be in vain.
4. Protective Gear: Newspapers, Gloves, etc.
Imagine painting without any protective gear. Paint on your hands, your table, maybe even your cat who decided to jump onto your workspace. To avoid such chaos, always lay down newspapers or a drop cloth. Gloves are also a good idea, especially if you're like me and tend to get paint everywhere. It's all about creating a mess-free environment where you can focus solely on your leather masterpiece.
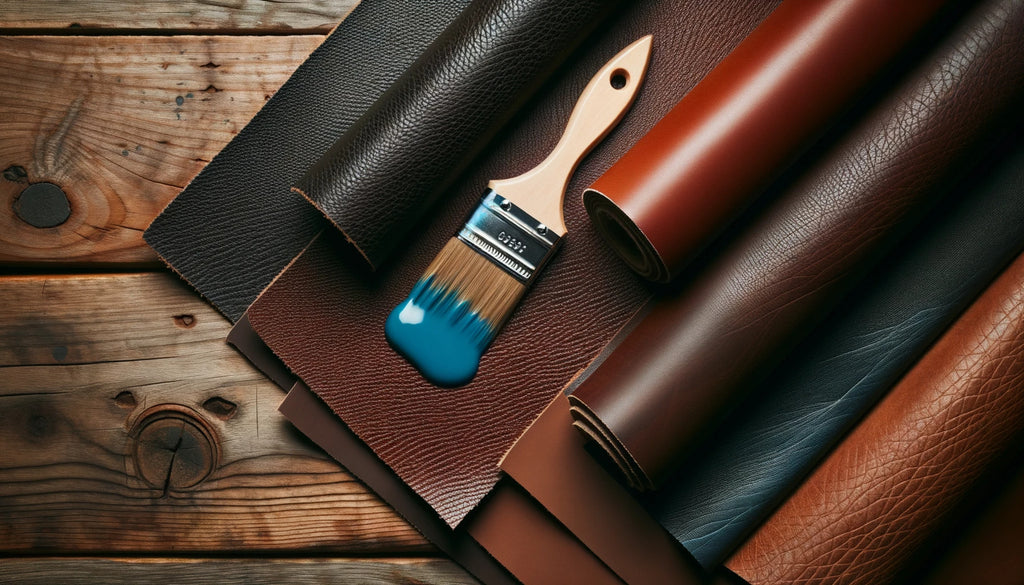
5. Paint Types: Oil, Acrylic, Latex, and Enamel
Choosing the right paint is akin to choosing the right outfit. It sets the mood and determines the outcome. Here's a quick rundown:
-
Oil Paint: Rich and luxurious, oil paint offers a deep hue and can be perfect for items you won't expose to too much wear and tear.
-
Acrylic Paint: Quick-drying and versatile, acrylic is a favorite among many. It's flexible, making it great for items that will be bent or folded often, like wallets or bags.
-
Latex Paint: Best for larger surfaces, latex is durable but requires a bit more prep work.
-
Enamel Paint: If you're looking for a glossy, polished finish, enamel is your go-to. It's smooth and leaves a beautiful sheen.
In my painting adventures, I've experimented with all these paints. Each has its charm and purpose. For a vintage bag I once restored, acrylic was perfect. But for a decorative leather tray, enamel gave it that extra oomph.
In conclusion, painting leather is an art, and like any art form, it requires the right tools and materials. With the items listed above, you're well on your way to transforming your leather goods into something truly special. Remember, it's not just about the end result, but the joy of the process. So, gather your materials and let your creativity flow!
How Do You Prep Leather Before Painting?
Whenever I embark on a new project, especially one as delicate as painting leather, I'm reminded of an old saying: "By failing to prepare, you are preparing to fail." It might sound clichéd, but when it comes to leather, truer words have never been spoken. Just as a chef wouldn't cook with dirty utensils, painting leather requires meticulous preparation to ensure the best results. Let's dive into the essential steps.
1. Cleaning the Leather: Importance of a Dust-Free Surface
Imagine trying to paint over a canvas covered in dust and grime. The result? A patchy, uneven mess. The same principle applies to leather. Before even thinking about painting, the leather must be immaculately clean.
Every leather item, whether it's a pair of old boots or a vintage sofa, accumulates dirt over time. This dirt can act as a barrier, preventing the paint from adhering properly. I've found that using a gentle soap solution or isopropyl alcohol can work wonders in removing surface grime. Remember, the goal is a surface so clean that you'd eat off it (though I wouldn't recommend actually doing so!).
2. Conditioning: Preventing Dryness and Cracking
Leather, in its essence, is skin. And just like our skin needs moisturizing to prevent dryness, leather too craves hydration. I can't stress enough the importance of conditioning leather before painting. It ensures that the leather remains supple, reducing the risk of the paint cracking over time.
Over the years, I've experimented with various conditioners, and oil-based ones have consistently come out on top. They penetrate deep into the leather, nourishing it from within. A pro tip? Always allow the conditioner to dry completely before moving on to the next step. Patience is key here.
3. Sanding: When and Why It's Necessary
Now, sanding leather might sound a tad aggressive, but trust me on this one. It's a game-changer. Sanding creates a slightly rough surface, which allows the paint to grip better. Think of it as creating tiny grooves for the paint to latch onto.
However, a word of caution: sanding requires a gentle touch. We're not trying to strip the leather but merely roughen it up a bit. Using fine-grit sandpaper, lightly sand the surface in a circular motion. The difference might not be visible, but your paint will thank you for it.
4. Using a Leather Preparer and Deglazer
Last but certainly not least, let's talk about leather preparers and deglazers. These products might sound fancy, but their purpose is simple: to ensure that the leather is in the best possible condition for painting.
A leather preparer does precisely what its name suggests. It prepares the leather by removing any residual oils or finishes. This step ensures that the paint doesn't just sit on the surface but bonds with the leather.
Deglazers, on the other hand, are like the final polish. They remove any lingering shine or gloss, giving the leather a matte finish, which is ideal for painting.
In my early days, I once skipped this step, thinking it was unnecessary. The result? A beautifully painted leather bag that started peeling within weeks. Lesson learned.
In conclusion, painting leather isn't just about the act of applying paint. It's a process, a labor of love. Each preparatory step, from cleaning to deglazing, plays a crucial role in the final outcome. So, the next time you're tempted to cut corners, remember: preparation is the foundation of success. And with leather, it's a foundation you can't afford to skip.
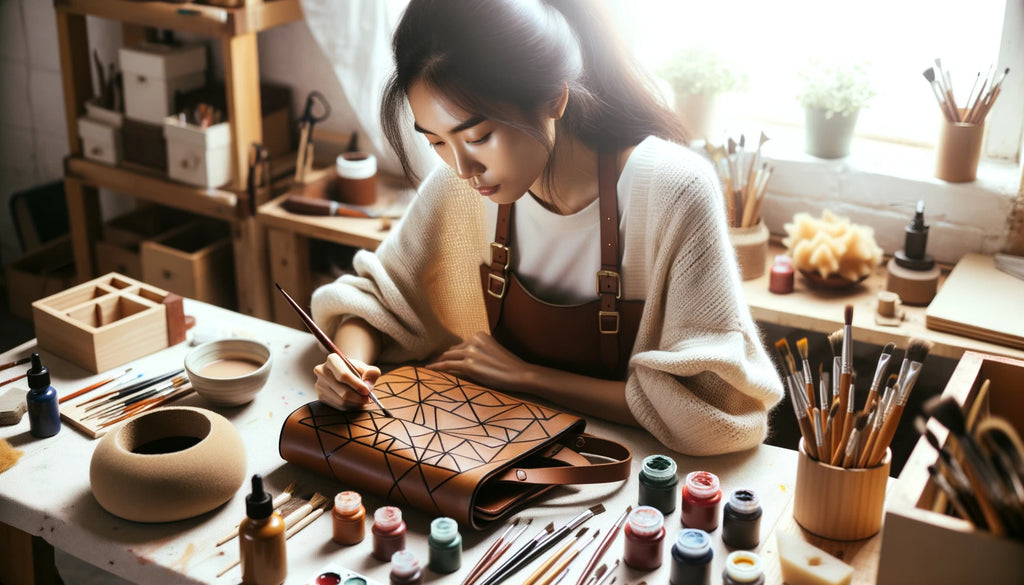
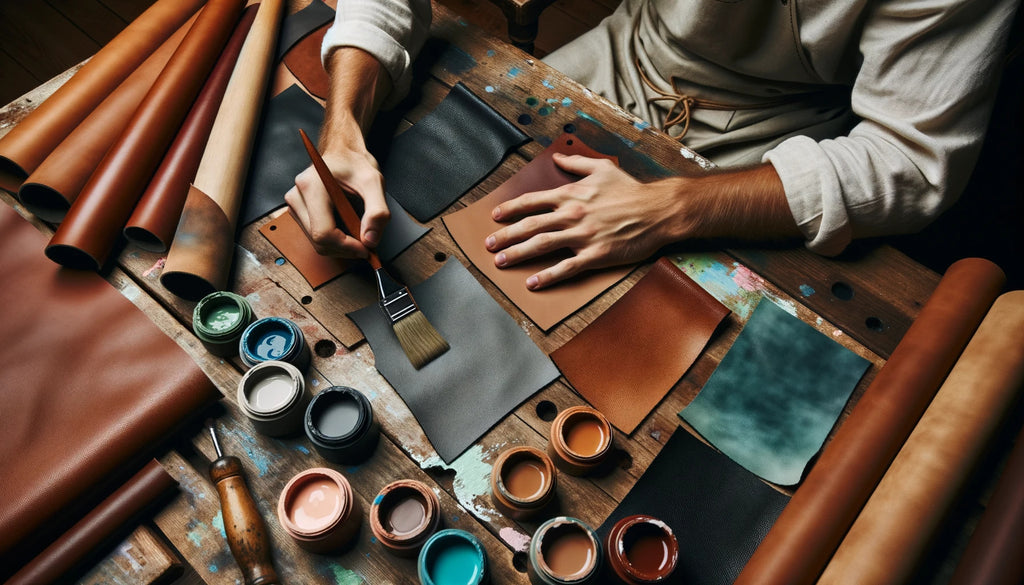
How Do You Paint Leather Step by Step?
Embarking on the journey of painting leather can be both exciting and a tad intimidating. But fear not! I'm here to guide you through each step, ensuring that by the end, you'll be looking at a masterpiece. Let's dive in.
1. Choosing the Right Paint
The foundation of any great leather painting project lies in selecting the appropriate paint. It's like choosing the right wine for a meal; the right choice can elevate the experience.
a. Pros and Cons of Different Paint Types
-
Acrylic Paints:
- Pros: Quick drying, flexible, and available in a myriad of colors.
- Cons: Might require multiple coats for vibrant color.
-
Oil-Based Paints:
- Pros: Rich, deep colors with a natural sheen.
- Cons: Longer drying time and might darken the leather.
-
Latex Paints:
- Pros: Water-resistant and durable.
- Cons: Can be thicker and might alter the leather's texture.
b. Mixing Guidelines for Optimal Consistency
Achieving the right paint consistency is crucial. Too thick, and it won't spread evenly; too thin, and it might not cover well. Here's a tip: start with a base amount and add a few drops of water or a leather preparer until you achieve a consistency similar to heavy cream. Remember, it's easier to add more liquid than to take it away, so proceed with caution.
2. Application Techniques
Once you've prepped and mixed your paint, it's showtime!
a. Starting with Thin Layers
I cannot stress this enough: start thin. It's tempting to slather on a thick coat, but resist the urge. Thin layers dry faster, look smoother, and reduce the risk of cracking.
b. Importance of Even Strokes
Imagine you're painting a canvas; you'd want smooth, even strokes, right? The same applies to leather. Uneven strokes can lead to patchy results. A pro tip? Use flat brushes and move in one direction for a uniform appearance.
c. Drying Time Between Coats
Patience is a virtue, especially when painting leather. Allow each coat to dry thoroughly before applying the next. Depending on the paint type and environmental conditions, this could range from 30 minutes to a few hours.
d. Flexing Leather to Prevent Cracking
Here's a trick I learned over the years: after each coat, gently flex the leather item. This ensures the paint moves with the leather's natural flexibility, reducing the risk of cracks.
3. Finishing Touches
You're almost at the finish line (pun intended)! But before you admire your handiwork, there are a few final steps to ensure your painted leather looks impeccable and lasts.
a. Sealing the Paint: Why It's Crucial
Just as a chef finishes a dish with a garnish, sealing is the final touch for your leather item. It locks in the paint, adds a protective layer against external elements, and can provide either a glossy or matte finish, depending on your preference.
b. Choosing Between Glossy and Matte Finishes
This is where personal style comes into play. Do you want a shiny, reflective finish? Go glossy. Prefer something more understated? Matte is your friend. Both options have their charm, so there's no wrong choice here.
c. Application Tips for a Flawless Finish
For sealants, I recommend using a sponge or a soft cloth for application. Apply in circular motions, ensuring every inch is covered. Once done, let it dry thoroughly, and voilà! Your leather item is now a vibrant, refreshed masterpiece.
In the world of leather painting, the journey is as rewarding as the destination. Each step, from choosing the paint to applying the final sealant, is a blend of art and science. And remember, while the guidelines are here to help, don't be afraid to let your creativity shine. After all, it's your masterpiece. Happy painting!
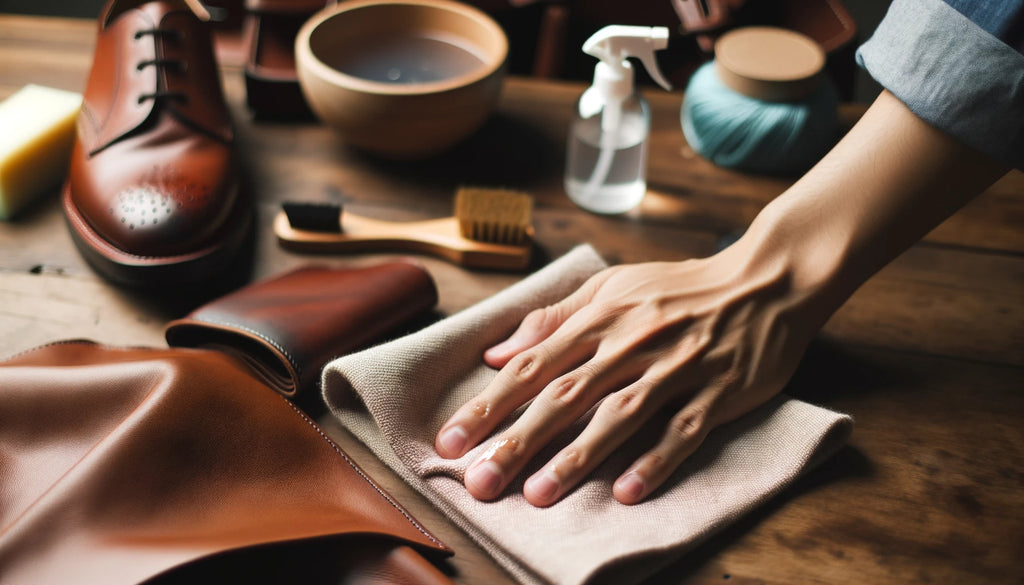
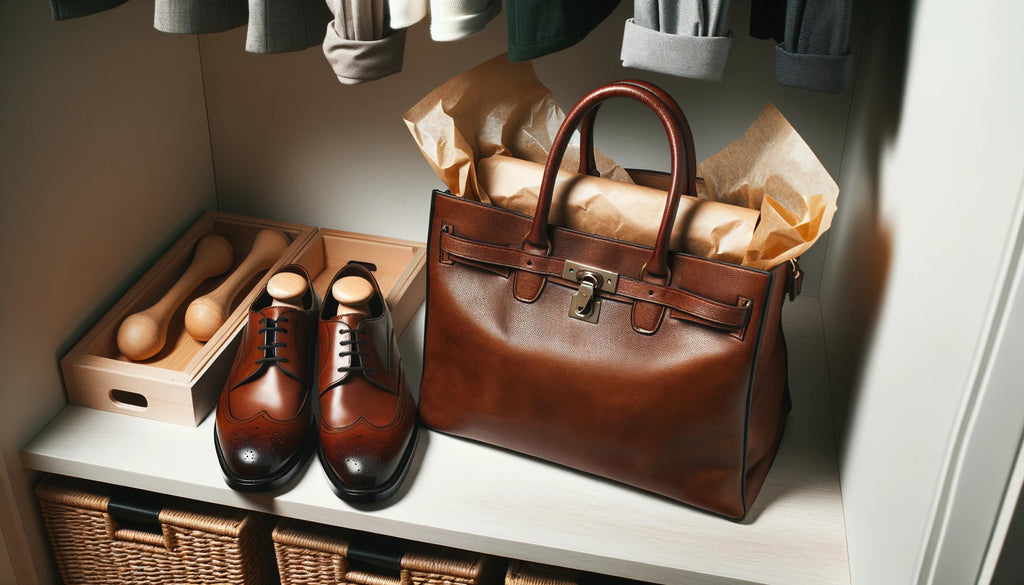
How Do You Care for Painted Leather?
After investing time and effort into painting your leather item, the journey doesn't end there. Just like a masterpiece needs a protective frame, your painted leather requires care to ensure its beauty remains intact. Let me guide you through the essential steps to ensure your leather's longevity and vibrancy.
1. How to Ensure the Longevity of Your Painted Leather Item
-
Avoid Immediate Exposure: Once you've finished painting, resist the temptation to immediately flaunt your revamped item. Paint, even if it feels dry to the touch, needs time to set. I recommend letting your item sit for at least 24 to 48 hours in a cool, dry place.
-
Limit Direct Sunlight: Just as our skin can be harmed by prolonged sun exposure, painted leather can fade or discolor when left in direct sunlight for extended periods. If you've painted a leather couch or chair, consider its placement in relation to windows.
-
Rotate Usage: For items like shoes or bags, consider rotating their use. This gives the leather time to breathe and reduces the wear and tear on the paint.
-
Store Properly: When not in use, store leather items in a cool, dry place. For bags or shoes, consider using fillers like tissue paper or shoe trees to maintain their shape.
2. Cleaning and Maintaining Painted Leather
Cleaning painted leather isn't as daunting as it sounds. With a few simple steps, your item can remain pristine.
-
Gentle Cleaning: For dust or light dirt, a soft cloth or a gentle brush will suffice. For deeper stains, dampen the cloth slightly and wipe the surface without soaking it.
-
Avoid Harsh Chemicals: Steer clear of alcohol-based cleaners or any abrasive substances. These can strip the paint or cause it to fade. Instead, opt for leather-specific cleaners or mild soapy water.
-
Conditioning: While it's essential to keep leather moisturized, be cautious with conditioners post-painting. Test a small, inconspicuous area first to ensure it doesn't react adversely with the paint.
-
Regular Checks: Every few months, give your leather item a once-over. Check for any signs of wear or areas where the paint might be thinning. Early detection can make touch-ups easier and more effective.
3. Addressing Common Issues: Cracking, Peeling, etc.
Even with the best care, painted leather might face some issues. But fear not, for every problem, there's a solution.
-
Cracking: If you notice the paint starting to crack, it might be due to thick paint layers or extreme temperature changes. Address this by gently sanding the cracked area and applying a thin layer of paint.
-
Peeling: Peeling often occurs when the leather hasn't been prepped correctly before painting. To fix this, remove the peeling paint, prep the area again, and repaint.
-
Fading: Over time, the paint might lose its vibrancy. A fresh coat can bring back the brilliance. Remember to clean and prep the area before repainting.
-
Stains: For stubborn stains, avoid scrubbing vigorously as it can remove the paint. Instead, use a leather cleaner or a mild solution of soapy water. Dab gently and let air dry.
In my early days of working with leather, I remember painting a beautiful floral design on a handbag. A few weeks later, I noticed some peeling. Instead of panicking, I saw it as an opportunity to refine my technique and learn. After some touch-ups, that bag became one of my most cherished creations.
Conclusion
As we journeyed through the intricacies of painting leather, it's evident that this art is not just about color transformation. It's a blend of science, creativity, and care. From understanding the leather type to choosing the right paint and ensuring post-painting maintenance, each step is pivotal in achieving the desired outcome.
I've often likened painting leather to giving it a new lease on life. It's about rediscovering its beauty, enhancing its longevity, and adding a personal touch. So, if you have a leather item that's yearning for a makeover, I encourage you to take the plunge. Experiment with colors, play with designs, and most importantly, make it uniquely yours.
FAQs
1. Why is pre-painting preparation crucial for leather?
Pre-painting preparation ensures that the leather surface is clean, smooth, and ready to bond with the paint. This step is vital for paint adherence and longevity. Think of it as laying a strong foundation for a building; the better the foundation, the more durable the structure.
2. Can all leather items be painted?
While most leather items can be painted, the results may vary based on the leather type, its condition, and the paint used. It's essential to understand which items are suitable to ensure the best outcome.
3. How many coats of paint are typically needed?
The number of coats largely depends on the leather's color, the paint's opacity, and the desired finish. However, typically, 2-3 coats ensure even coverage and vibrant color.
4. What's the difference between acrylic and oil paints for leather?
Acrylic paints are water-based, dry faster, and offer a flexible finish, making them ideal for leather items that bend or flex. Oil paints, on the other hand, take longer to dry and provide a rich, glossy finish. The choice between the two boils down to the desired look and the item's intended use.
5. How do I prevent my painted leather from cracking?
Flexibility is the key. Ensure that the paint used is flexible and apply it in thin coats. Also, conditioning the leather before painting can help maintain its natural flexibility.
6. Can I use household paints on leather?
While it might be tempting, household paints are not formulated for leather and may not adhere well or remain flexible. Specialized leather paints are recommended for optimal results.
7. How long should I wait between applying paint coats?
Drying times can vary based on the paint type and environmental conditions. However, it's generally advisable to wait at least 24 hours between coats to ensure proper adhesion.
8. Do I always need to apply a finisher after painting?
A finisher acts as a protective layer, sealing the paint and enhancing its durability. While not always mandatory, it's highly recommended, especially for items exposed to wear and tear.
9. How do I clean a freshly painted leather item?
For the first few weeks, it's best to spot clean using a damp cloth. Avoid using harsh chemicals or submerging the item in water to prevent paint damage.
10. Can painted leather items be exposed to rain and sun?
While specialized leather paints are designed to be durable, prolonged exposure to rain or direct sunlight can affect the paint's appearance and longevity. It's best to protect painted leather items from extreme conditions.
📫 Related Blog Posts:
📌 Embossed vs. Engraved Leather: The Artistic Duel Unveiled
📌 Mastering the Art of Leather Lacing: A Comprehensive Guide
📌 How to Style Leather Pants? A Guide From Rockstar to Runway
📌 How to Clean White Leather? The Ultimate Guide to Pristine Elegance
📌 What is Exotic Leather? From Wilderness to Wardrobe

Leave a comment